Triton Project 3D Printing Guide

Overview

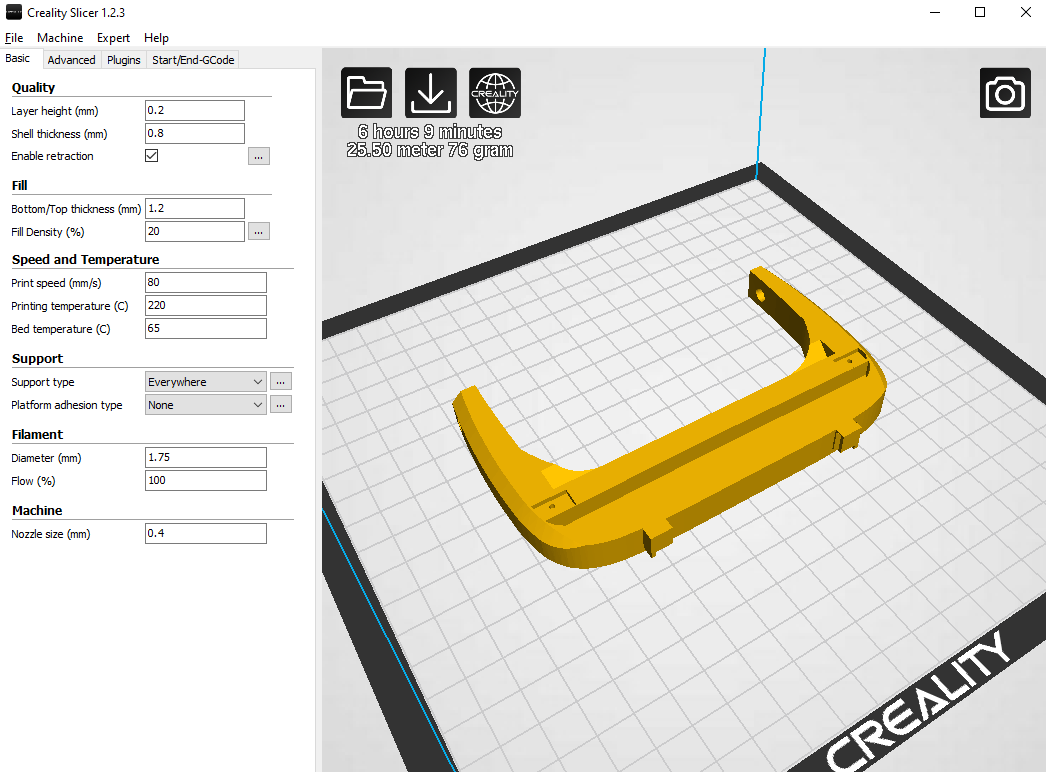
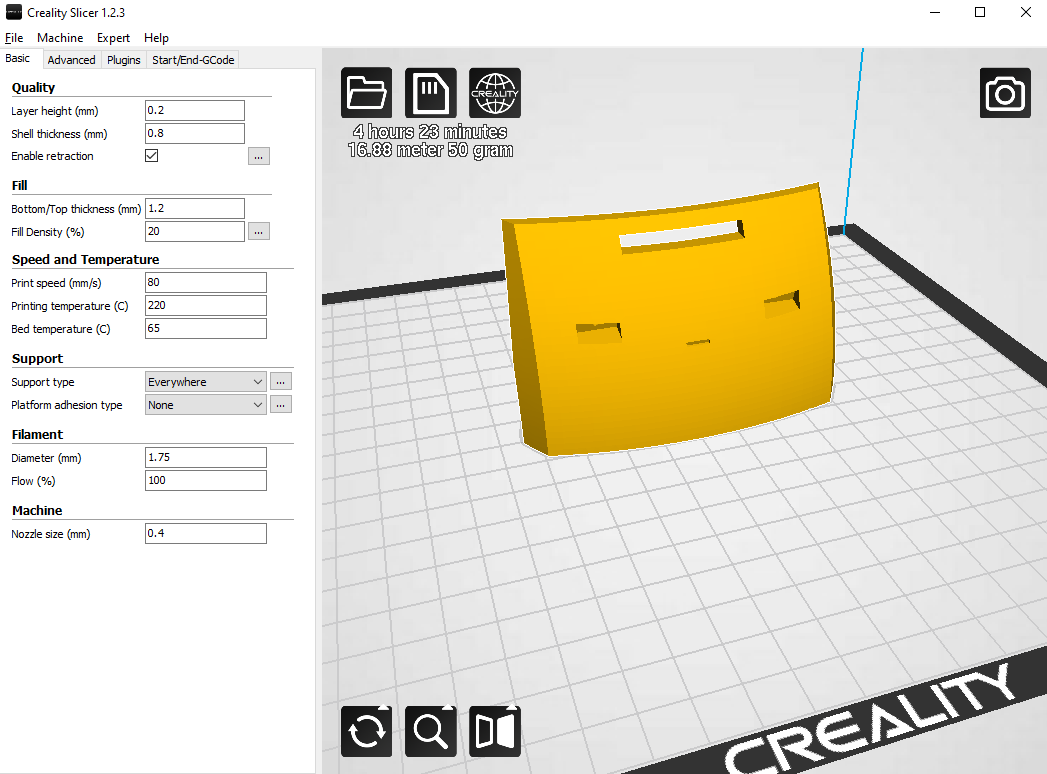
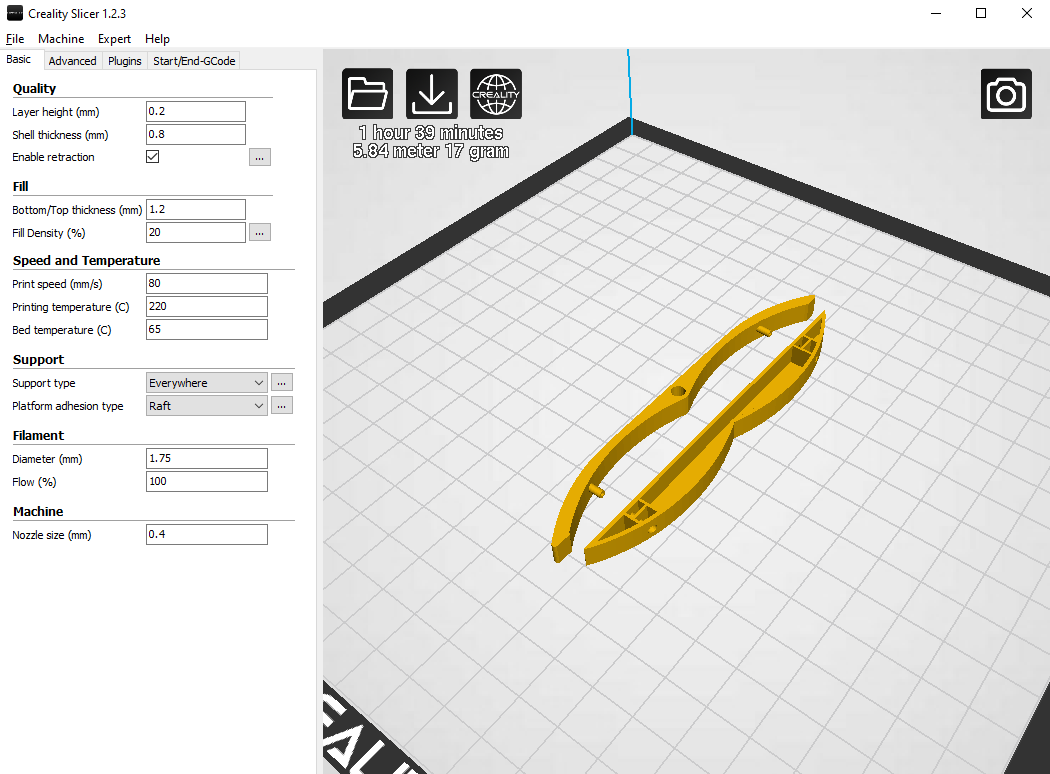
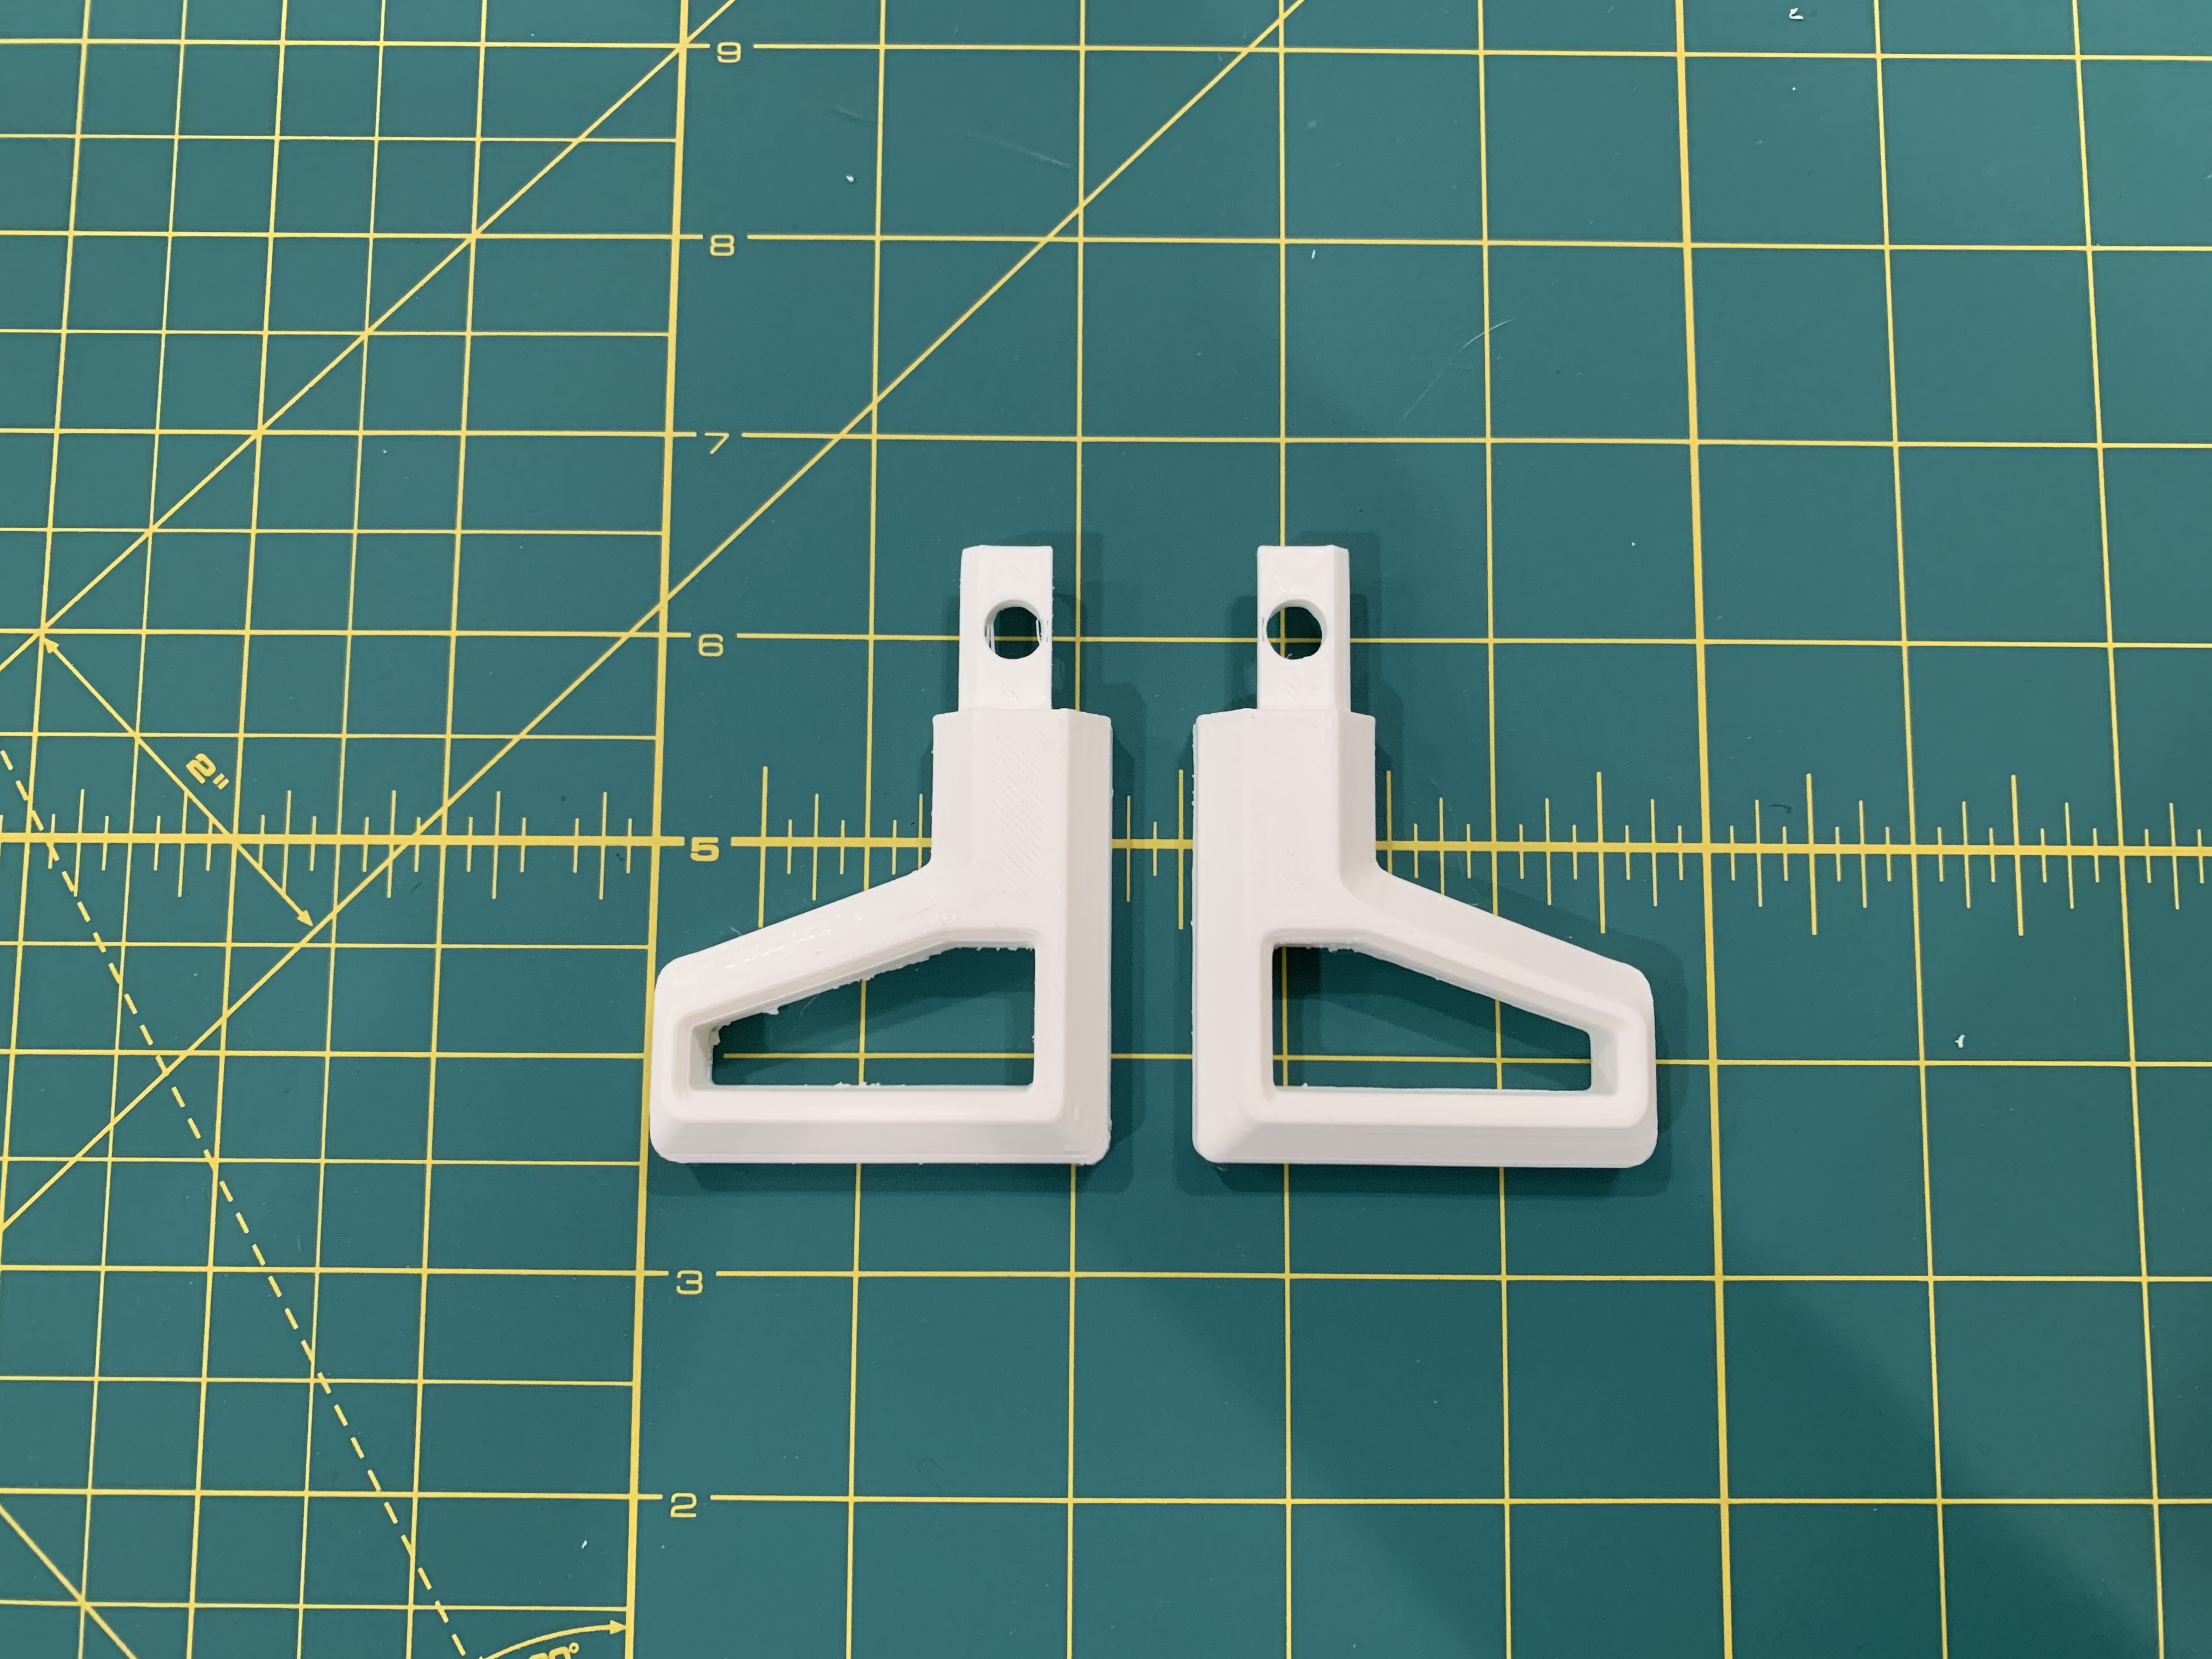
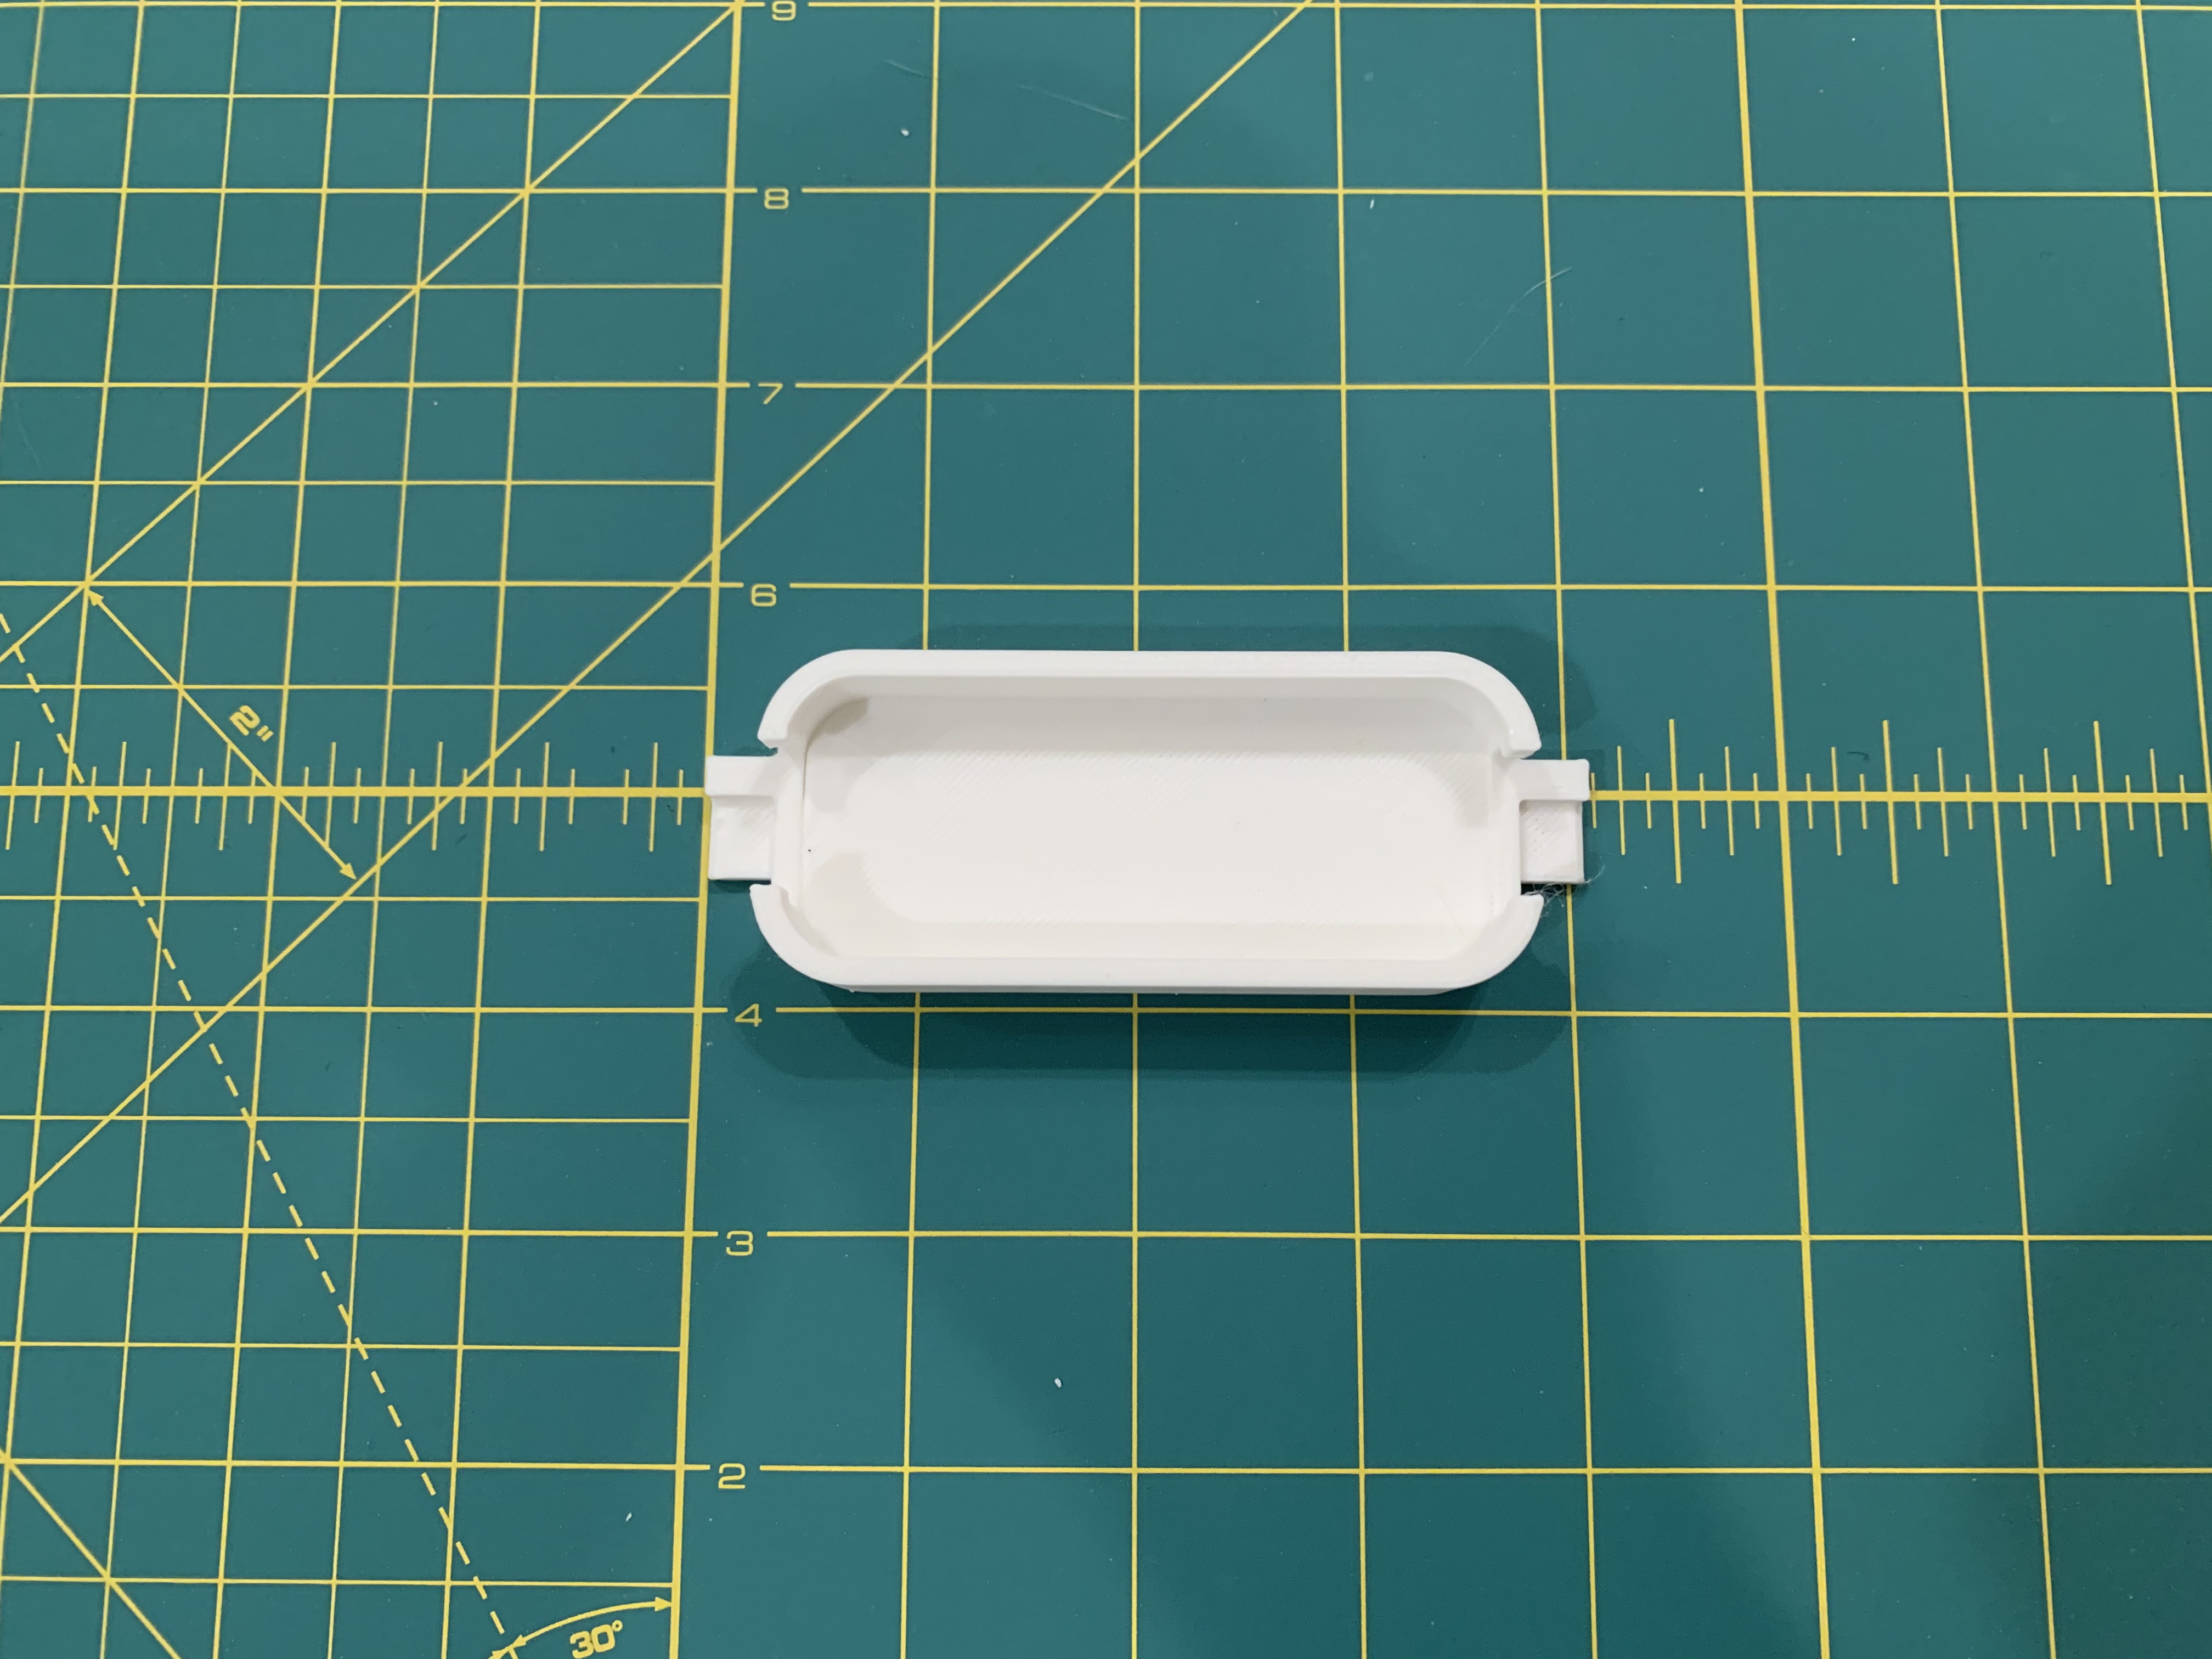
The Triton's design consists of 17 custom designed 3d printed parts. If you plan to use your own 3d printer you'll need to 3D print for roughly 20+ hours. There's nothing expensive or major requiring a machine shop, but a few tools are expected.

Equipment/Materials Used:

  1. Creality CR-10 V2 3D Printer
  2. DURAMIC 3D Premium PLA Plus Filament 1.75mm

Software Programs Used:

  1. Autodesk Fusion360
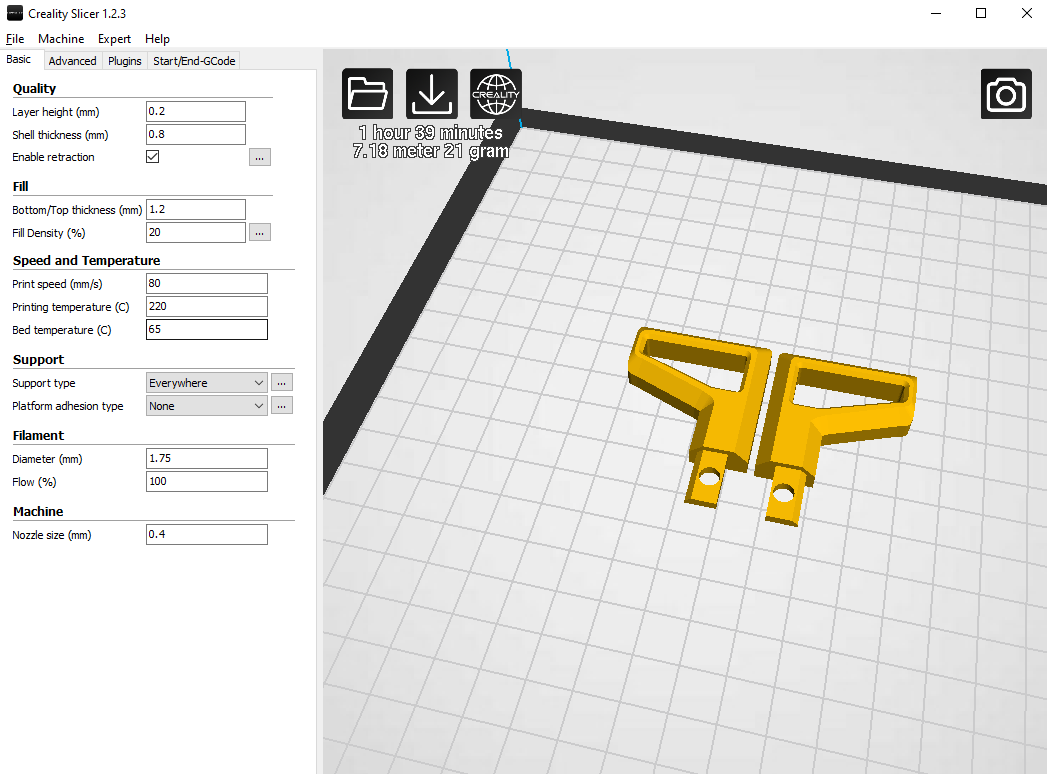
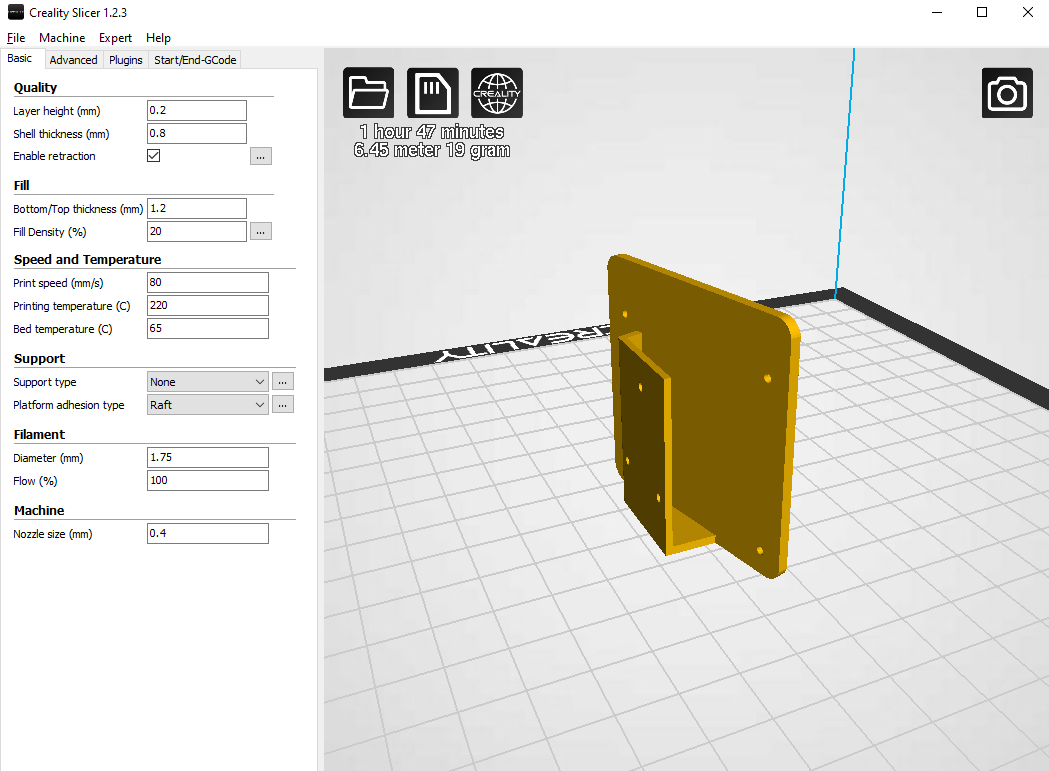
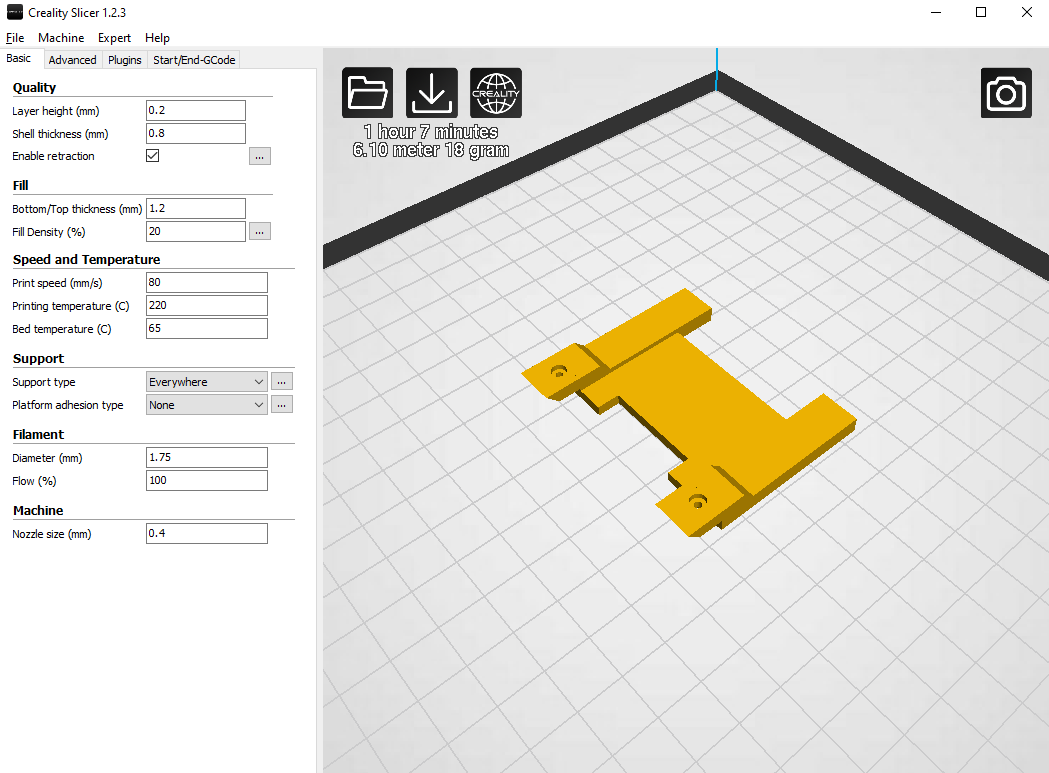
  2. Creality Slicing Software
  3. Note: Creality slicer is not required. You can use any slicer software that you prefer.

If you need 3D printed parts

If you need 3d printed parts for the Triton and do not have access to a 3d printer you can purchase the parts directly from me. I have a quality grade 3d printer and will ensure quality checks before delivery.

Purchase Triton 3D Printed Parts

Licencing Notice

Creative Commons

Attribution-NonCommercial-ShareAlike

The Triton's source files licensed under the CC BY-NC-SA creative commons. This license let you remix, adapt, and build upon your work non-commercially, as long as they credit you and license their new creations under the identical terms.

A. Halo

The Halo is the center piece of the Triton on which everything else attaches to it. The Halo also takes the longest to 3d print (~6 hours). The settings I used to 3d print the Halo are listed below. Note: make sure the Halo is printed upside down (lens port should face updward)

Slicer Settings:
Layer Height 0.2mm
Infill 20% rectilinear
Nozzle temp 220 C
Bed temp 65 C
Supports Everywhere, 15% Infill
Platform Adhesion None or raft
Removing supports:

The Halo should be printed with supports enabled everywhere. After the print is done they can be manually removed with an exacto knife. Removing the supports is a straightforward process just remain patient. Supports are printed within inside the halo (image to far right). They're fairly difficult to remove so it might take a few passes to scoop out the filament with an exacto knife. Note: you can use a higher infill % for the supports to reduce some of the etching

B. Head Press

The head press is the 2nd longest part to print. The slicer settings are nearly the same as the halo.

Slicer Settings:
Layer Height 0.2mm
Infill 20% rectilinear
Nozzle temp 220 C
Bed temp 65 C
Supports Everywhere, 15% Infill
Platform Adhesion None or raft

C. Display Trey

The display trey is straightforward print. After the print is finished there should be supports to remove under the side of lips of the trey. Take an exacto knife and scrape those out. After completion you can test the trey by sliding in the LCD display. The LCD display should slide all the way in. As a reminder this part was designed specifically for the LCD display listed in the spec.

Slicer Settings:
Layer Height 0.15mm
Infill 20% rectilinear
Nozzle temp 220 C
Bed temp 65 C
Supports Everywhere, 15% Infill
Platform Adhesion None or raft

D. Top Cover

For the top cover I printed the part using a raft. I was having issues with platform adhesion which ending up causing the part to warp at the edges.

Slicer Settings:
Layer Height 0.2mm
Infill 20% rectilinear
Nozzle temp 220 C
Bed temp 65 C
Supports None
Platform Adhesion raft

E. Lens Attacher

INSERT TEXT

Slicer Settings:
Layer Height 0.2mm
Infill 20% rectilinear
Nozzle temp 220 C
Bed temp 65 C
Supports Everywhere, 15% Infill
Platform Adhesion Raft

F. Display Brackets

INSERT TEXT

Slicer Settings:
Layer Height 0.2mm
Infill 20% rectilinear
Nozzle temp 220 C
Bed temp 65 C
Supports Everywhere, 15% Infill
Platform Adhesion None or raft

G. Strap Holders

The strap holders can be printed side by side. They print fine without any platform adhesion.
Slicer Settings:
Layer Height 0.2mm
Infill 20% rectilinear
Nozzle temp 220 C
Bed temp 65 C
Supports None
Platform Adhesion Raft
H. Peg system

The strap holders will be inserted into the sides of the halo. Inorder to keep them in place they need to be locked in with a peg and bolt.

Slicer Settings:
Layer Height 0.1mm
Infill 20% rectilinear
Nozzle temp 220 C
Bed temp 65 C
Supports None
Platform Adhesion None

I. Leap Motion Case

Slicer Settings:
Layer Height 0.2mm
Infill 20% rectilinear
Nozzle temp 220 C
Bed temp 65 C
Supports Everywhere, 15% Infill
Platform Adhesion Raft

J. LCD Driver Mount

For the lcd driver mount I would recommend printing in the orientation as seen in the screenshot. This way it requires no raft and no supports thus reducing print time.

Slicer Settings:
Layer Height 0.2mm
Infill 20% rectilinear
Nozzle temp 220 C
Bed temp 65 C
Supports None
Platform Adhesion None

K. Rosen Bridge

Slicer Settings:
Layer Height 0.2mm
Infill 20% rectilinear
Nozzle temp 220 C
Bed temp 65 C
Supports Everywhere, 15% Infill
Platform Adhesion None